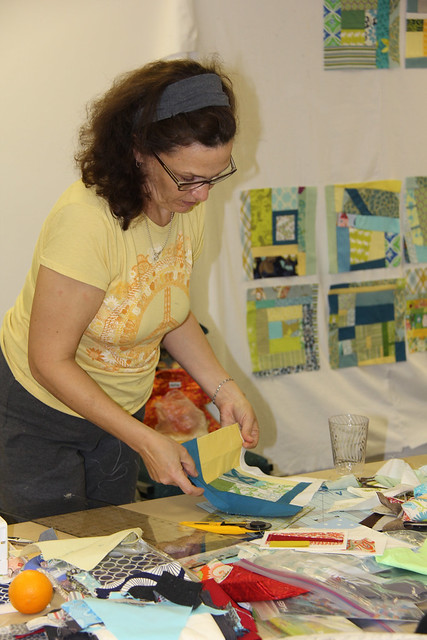
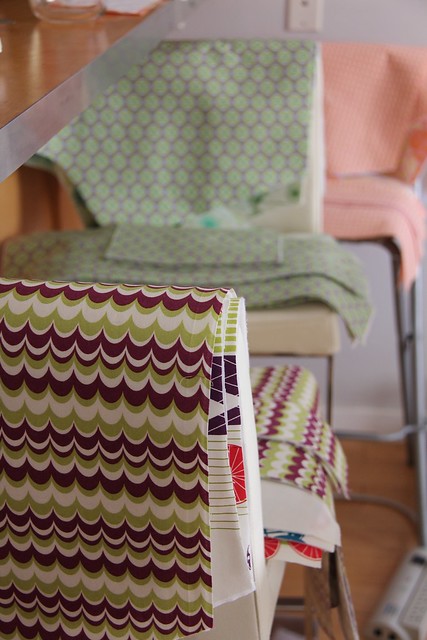
Welcome back for another week of the "Little Stitches" Sew-Along. You're going to see a lot of different fabrics this week because I've been working on making three of these puppies simultaneously.
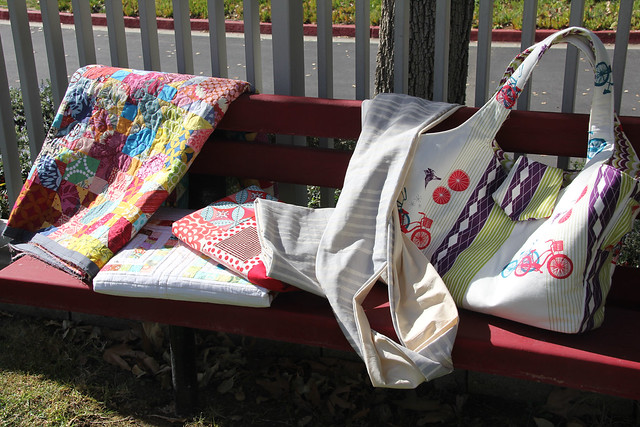
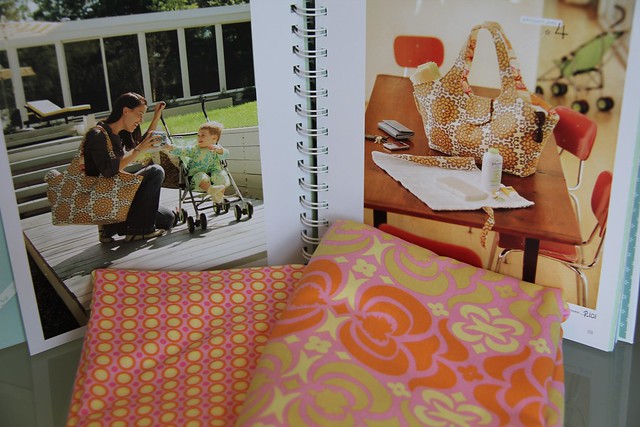
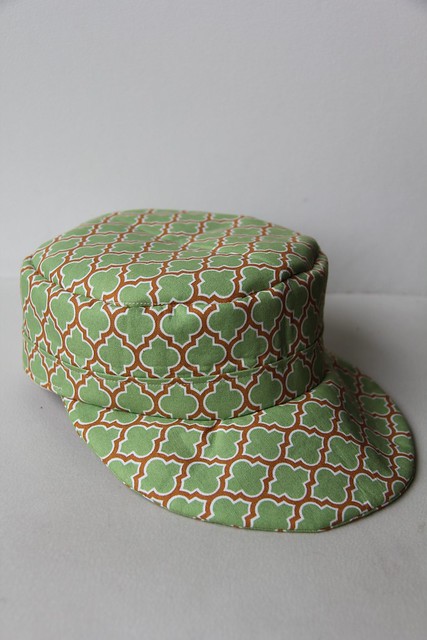
Pattern K - Modern Diaper Bag - Difficulty Level: 4
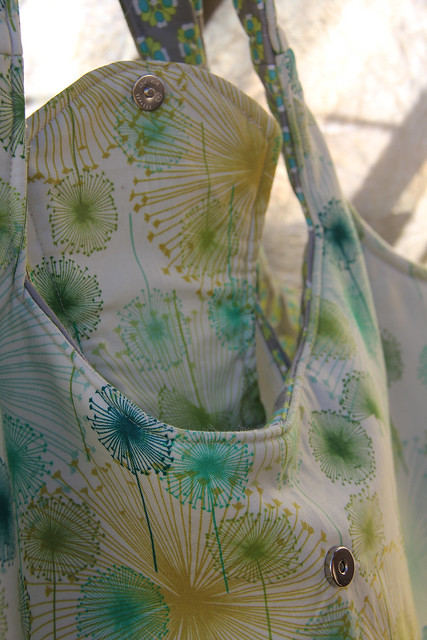
Now, although I've been working on this bag thrice-over they're all still in various phases of construction. But one of them is finished and already living with it's new owner, Nina. You can read more about my friendship with Nina here because this isn't the first thing I made for her in this book. But I knew she really wanted a diaper bag, and I promised her one. Unfortunately it got to her just a little later than I planned.
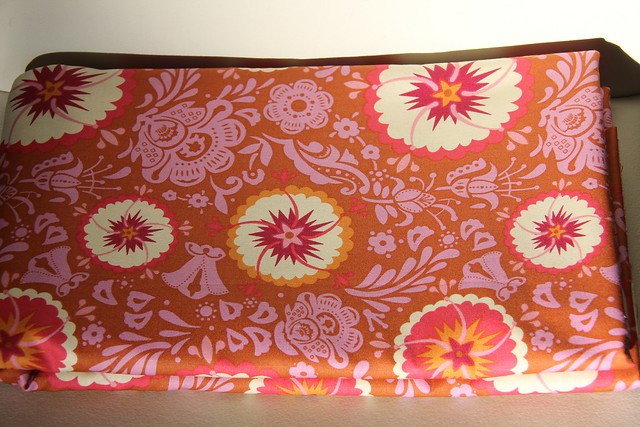
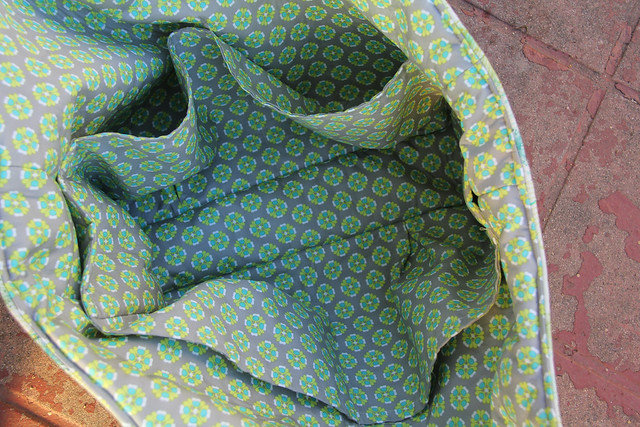
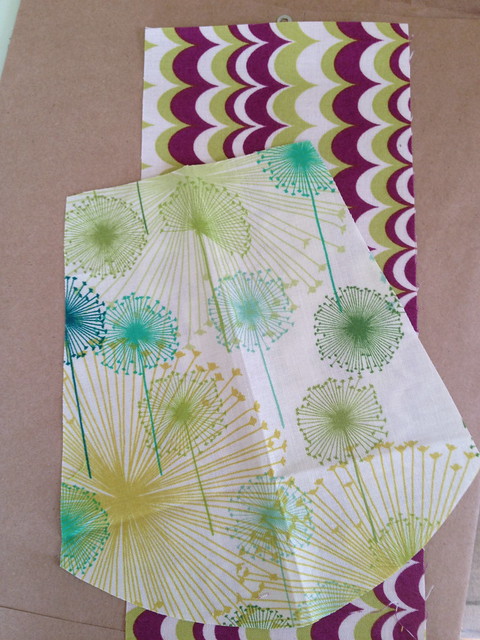
Since Nina is one of my closest friends, and coincidentally, we share a similar aesthetic I decided to cut into my coveted Wrenly to make something special just for her. I had intended to keep this Wrenly print in my stash to make something for myself, as it was becoming increasingly more difficult to find, but I knew she would love this print as much as I do so it called out to me for a special project like this one. When it came to the lining I initially chose a print from Pat Bravo's Modernology line. Then my stylist friend, Nancy, tried to convince me to use the Lizzy House Castle Peeps print that I had chosen for the same bag I was making for my sister-in-law. I agonized over the choice. And I almost went with Nancy's suggestion, but in the end I put things back the way they were because I thought it would better suit the recipients of each bag.
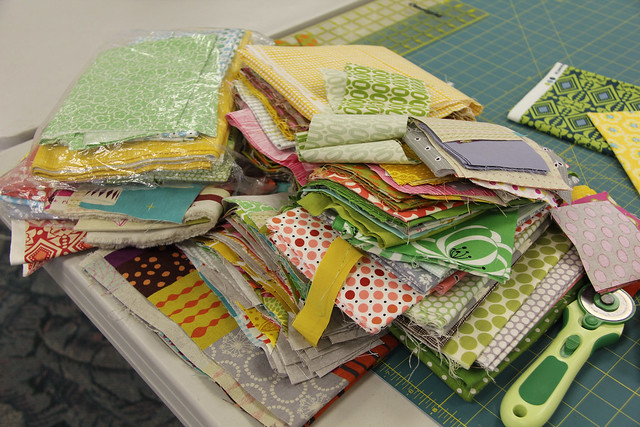
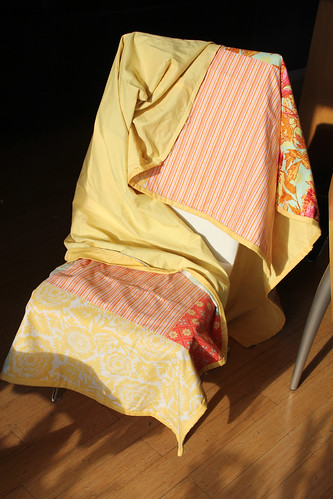
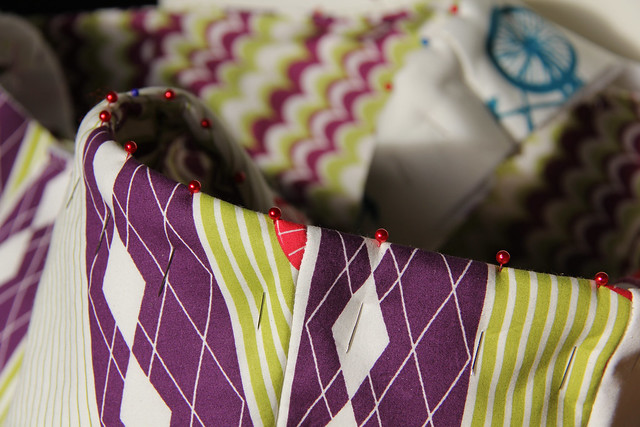
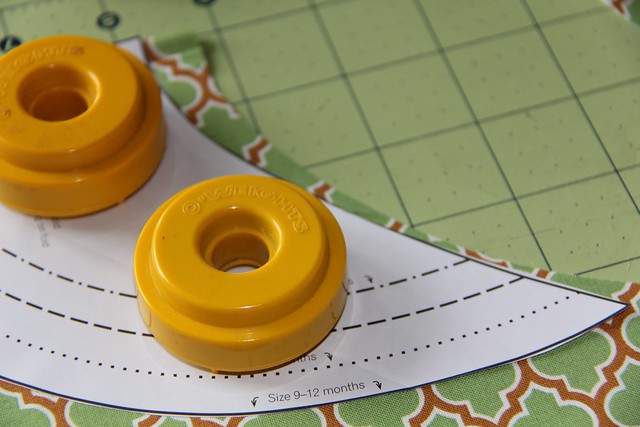
Cutting and attaching interfacing are the most tedious part of the process for me. It's a necessary evil, but I sometimes wish I could be independently wealthy and just pay someone to cut out pattern pieces from fabric for me. No, not a good waste of money (and I am joking) but seriously, it's the part I hate the most in sewing construction techniques. Because of my loathing I decided to get all the cutting done on this bag in one fell swoop. I planned to make three so I cut all three out at the same time.
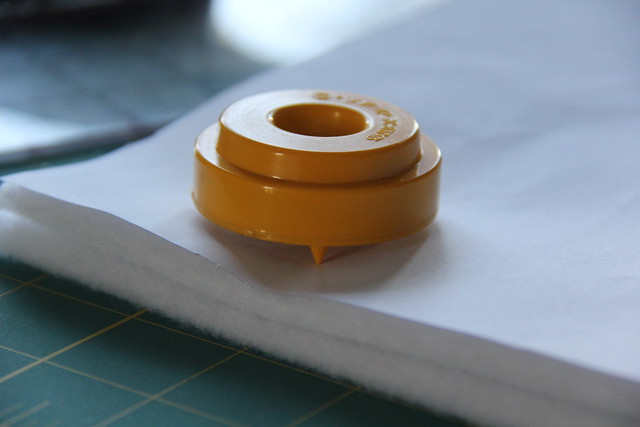
To save time I doubled (and sometimes triple depending on the thickness of the fabric/interfacing) up on the layers so I cut cut out pattern pieces in multiples. My little pattern weights came in handy for this and it helped cut down slightly on cutting time.
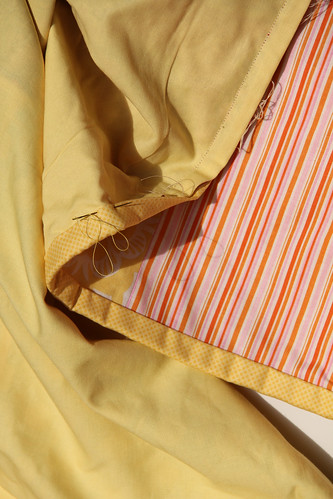
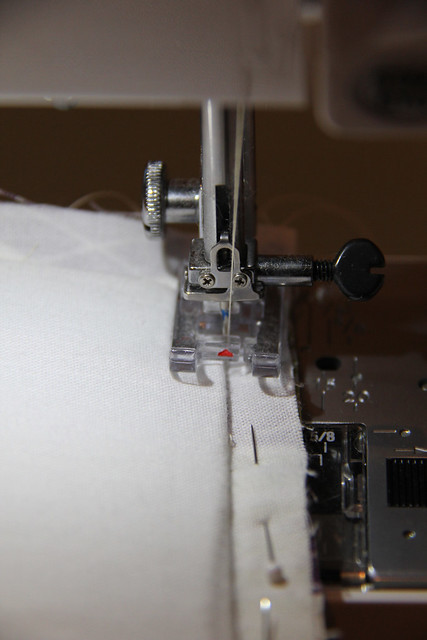
As is often the case, there were a few instructions that read like Greek to me and made me second guess my own sewing knowledge at times. I mean, I've been making pleats and darts since I was a pre-teen but reading the instructions on how to make the box pleats in the pockets confused me at first. I had to take a step back, remind myself that I know how to do this, and just dive in and make a frickin' pleat. In the end simple is always better and don't doubt yourself.
The second time I was making this bag (which is in the final stages but not yet complete) I encountered yet another problem while reading through the pleat directions again and I sewed the pleats on the bottle pockets too small and had to re-do them to get the pocket round to fit the lining properly.
Once your pockets are in it's pretty much smooth sailing from there. Attaching the bottom panel might give some people a run for their money. Make sure you're matching up the centers of your panels as you work your way around and check your corners. Sometimes you have to go slightly over the 1/2" mark to make sure your corners seal up correctly. If this intimidates you go slowly and don'y be afraid. You'll get the hang of it. Attaching the bottom of the exterior should also be a little easier. If you place your fusible peltex correctly, you can simply follow the groove around.
The darts in the cell pockets shouldn't be an issue, they're just a little thick so make sure to take it slow if your machine has problems handling bulk. And that goes for the topstitching as well when you're finishing the bag. Due to the fusible fleece, the seams can get a bit cumbersome, especially at the seam intersections. Take these slowly, but don't forgo the top stitching. It will definitely help to secure and reinforce the bag.

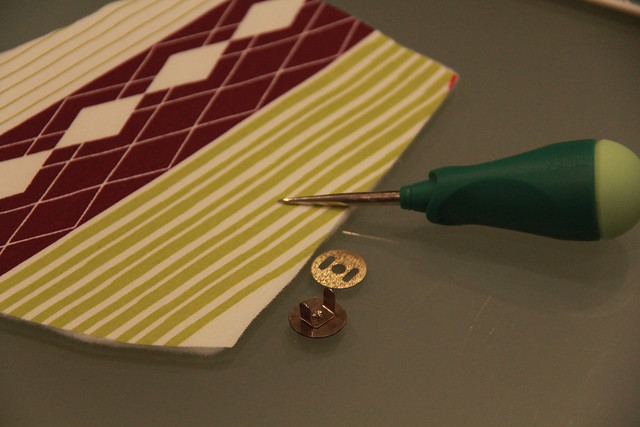
When it comes time to attach your magnetic clasp you're supposed to follow the directions on the fastener, which in most cases simply state to push through the fabric with the prongs on the clasp. I was able to accomplish this on the first one I made, with a bit of effort. You're pushing these prongs through several layers of fabric and interfacing, so it can be a little tough. A trick I used to make it easier on the next-go around was to use an awl to get the puncture started. Be careful how large you make the puncture in the fabric because you don't want it to fray or tear. I recommend just guiding the tip of the awl through and then letting the prongs do the rest of the work.
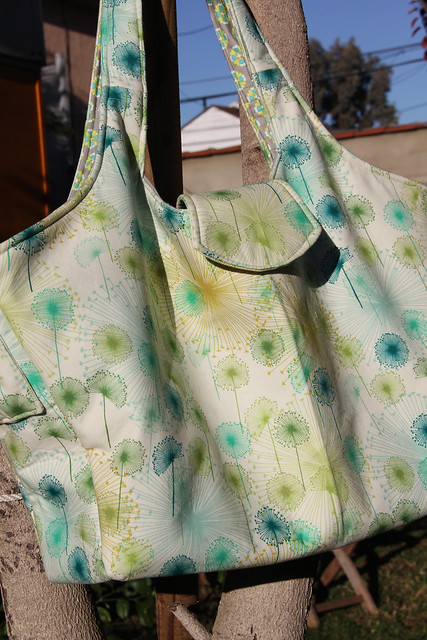
I didn't have as much trouble with this bag versus the Everything Bag. I also love this bag for it's stylish presentation. The Modern Diaper Bag is definitely a monster of a bag. I mean it's ginormous! I think Nina can fit her baby Roxana in there! You'll be seeing more of this bag as I finish up the other two.
I really hope Nina likes this bag and gets some good use out of it, even though it was delivered two months late.
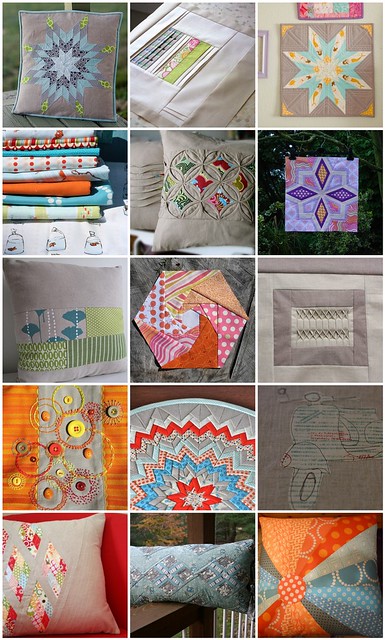
So what are you working on? Link up your latest projects here and show everyone what you're making. You can share your projects in any state from start to finish. I'll keep the linky party open all week. Remember, you can also show off your "Little Stitches" projects any time in the Undercover Crafter Sew-Along group on Flickr. See you next week!